Sunday, April 13, 2014

4/13/2014 Tim C wrote

On 4/13/2014 10:41 PM, Tim C wrote:
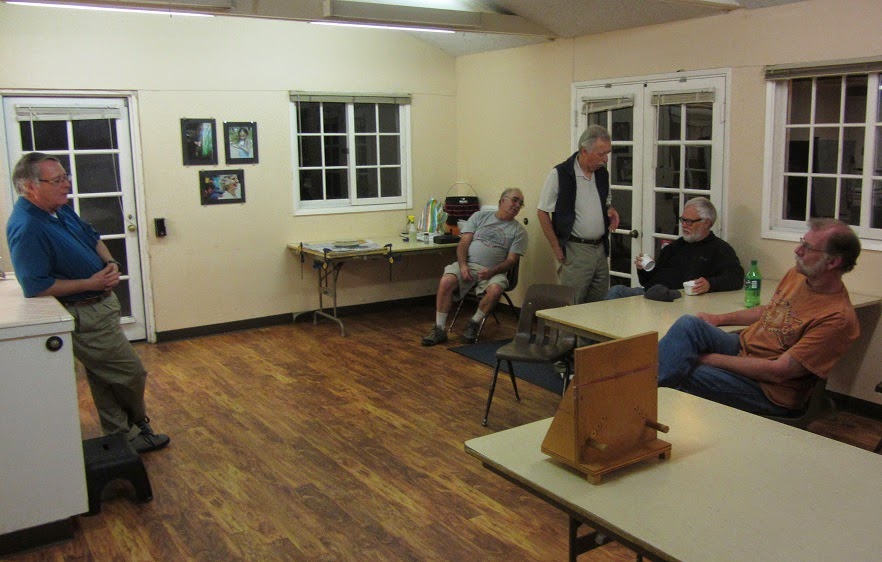
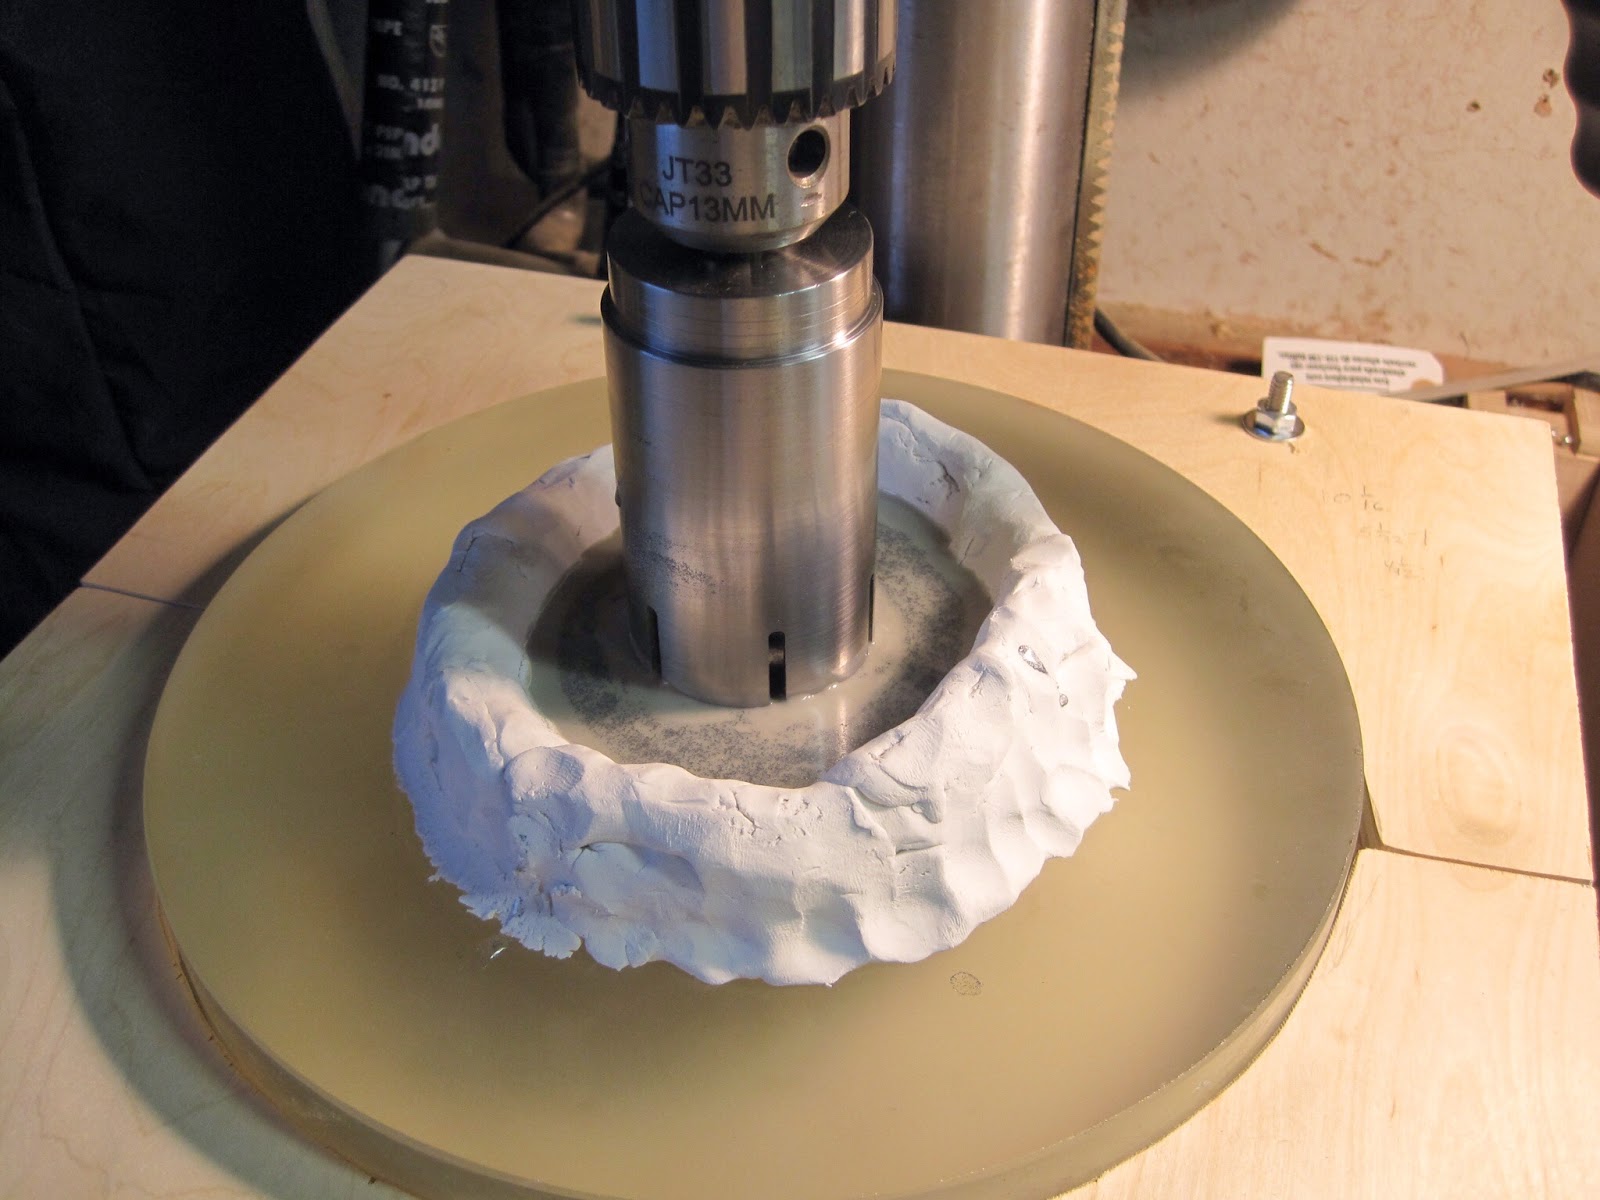
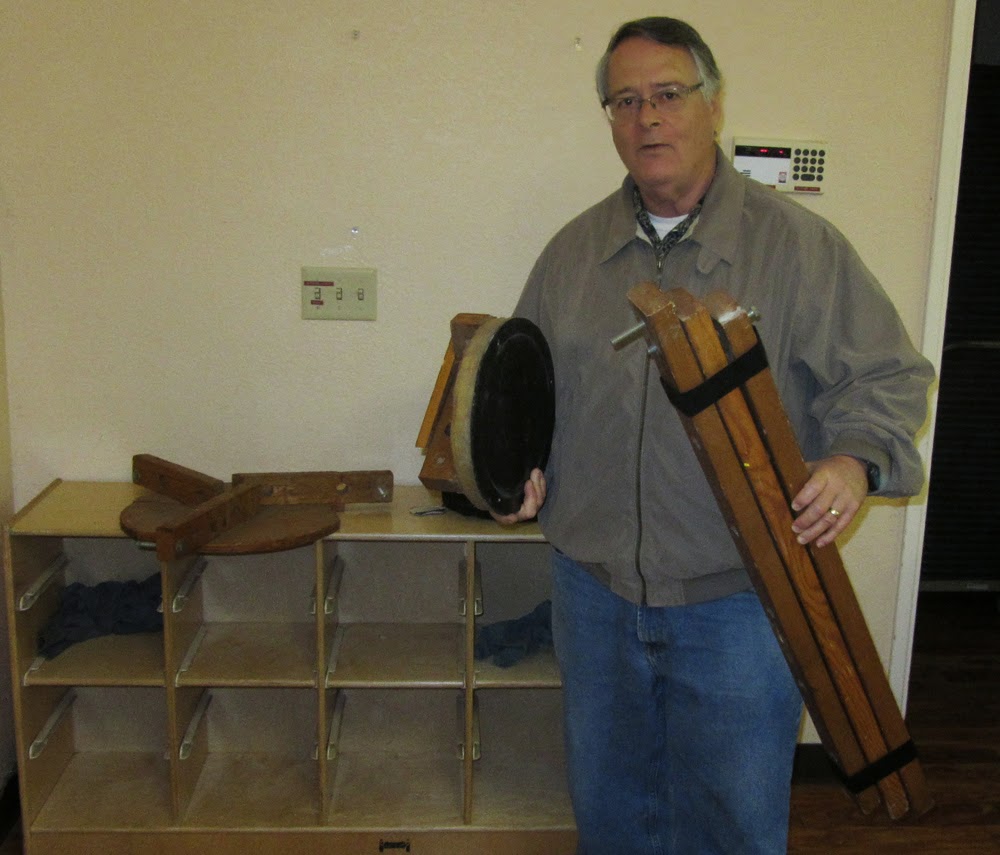
We will have a workshop this week of April 15th.
Because we have a lunar eclipse the night of April 14th& 15th, some of our plans may have to be put on hold once again. Regardless though, the grinding/polishing will continue on. 

So, for this week's food for thought- I recently went to La Sumida Nursery with my wife to look for our annual project of tomato growing. There, we spotted whole wine kegs-you know, the same ones you see outside the Broder Building. These would make great work platforms for mirror grinding. So, why would I like these over the traditional oil drums? Easy- I'm married to a spouse who does not think oil drums are an attractive feature to use in the garden. But, a wine cask is just the right touch for esthetic surroundings. These may work! Okay, they are not the only work top we can use but please indulge me for a moment. They have a recessed top that needs to have a work top placed so mirror grinding can take place ( a wood working challenge).  I will suggest they would be a nice feature to use as a table for potted plants. But, it also must morph into a workbench for grinding telescope mirrors. This needs innovation. 

Innovation- the one great attribute that all ATM's possess. This is really is what this aside is all about then, isn't it? We all have to use our minds to come up with solutions to problems we encounter in everyday telescope construction. Come on, admit it! We all use the creative spirit to  make something from nothing- to utilize whatever we can get from our network of ATM's or resources around us. 

True, eh? What does this have to do with a wine cask? Okay, let's get simple but creative. I told you the wine cask has a recessed top. What can you suggest using to add a top that can be used for grinding (without contamination) and then removed or modified to receive a potted plant or whatever,  so the "garden area" looks like this wine barrel belongs?  Simple huh? Not to me. But it does exemplify what we are about. Innovation, creativity and.... Genius! 

See you Tuesday if you can make it.

Friday, April 11, 2014

140408

140408 SBAU Telescope Workshop
Attendees:  PaulW, TimC, JerryW, TomT, MikeC, DmitriiZ, EdK, ChrisU


Looking at SBAU vs forum vs SBAUTW blog for placing Telescope Workshop notes.  TomT says the more places information is posted the better.
Comparing cell phones for viewing drop down menus of SBAU.org...all seem to work, but drop downs may be in pop up window.


EdK brought pitch for TomW to Jerry for next week's tool creation.

DmitriiZ testing mirror on TimC tester, looking at Ronchi pattern.  Jerry suggests chordal strokes to remove outer raised edge, but is there a raised center as well?


PaulW says Spectrum coatings http://www.spectrum-coatings.com/ can give 98% reflectivity "Max "R" (EAL)" "modified enhanced aluminum coating. It is not a "pure dielectric" coating. One of the great benefits of this coating is it can etched like a normal EAL or PAL coating. Therefore, if the coating does fail you will not have to have the primary mirror polished to remove the film (unlike a dielectric coating). A pure dielectric coating has no metal layer, which means it cannot be etched off - it must be polished off which would require re-figuring the primary mirror."

http://stellafane.org/tm/dob/ota/primary.html says:
"The absolute minimum criteria for an acceptable telescope mirror is that it be "diffraction limited" or alternatively this can be stated as "a maximum error of ¼ wavelength of light". Both of these terms refer to the Rayleigh Criterion, which actually should only be applied to complete telescopes, not individual components (but each optical component must be at least as good).
A mirror that meets the ¼ quality level of reflected light needs to have a surface accuracy twice as good (in this case 1/8 wave)."

http://www.cloudynights.com/ubbthreads/showflat.php/Number/5260617
lists a lot of mirror coating companies and opinions

 TimC continuing grinding 8" mirror at 500 grit, but mirror has a couple of pits left from Comet Crawford when observed with his loupe.  Can they be ignored and blacked out if necessary after coating?


Tim also had an iris diaphragm from JoeD that might be used to control the light from the mirror tester to a smaller point.


ChrisU dropped off cerium oxide from http://products.crlaurence.com/crlapps/showline/offerpage.aspx?Productid=12781&GroupID=12939&History=39324:111:6463:6513&ModelID=12939.  

GotGrit http://gotgrit.com/index.php/cPath/14_9 website pricey?

Tuesday, April 1, 2014

140401

140401 SBAU Telescope Workshop
Attendees: TomW, JerryW, Sam from Westmont, TimC, DmitriiZ, BruceM, ChrisU, TomT, MikeChibnik, and DavidH with Madeline, Amanda, and a small one riding on his back! 
[Wow! 13]
 -DavidH trying to tighten Allen screws on old Celestron mount motors; worm gear was seizing otherwise. Orion Skyview Pro, per BruceM, seems identical and info may be available on internet.  (see maybe this: http://www.company7.com/orion/mounts/orionsvpmount.html ; see manual near bottom of page)
 -Dmitriiz polishing his 12.5" about 30 minutes until his solution ran out.

-TimC grinding at 500 after removing worst of last week's scratch at 320 grit. 
-TimC working on next "From the Workshop" #5 notes regarding parabolic shape and mirror strokes.

-TomW melting more pitch for pouring small tool for ChrisU polishing of 10", but Chris had to go back home to get the mirror for forming the pitch lap properly.

-BruceM purchased a Celestron C8 orange tube OTA ($292, ebay?) with dovetail mount for improvement over his 5", but will see if mirror condition needs attention.  


On 4/1/2014 11:40 PM, TimC wrote:
Thanks all for coming out this rainy Tuesday. We ended up with 13 people tonight. I have updated our workshop list and this is the main reason for this email. You will be receiving this type email before our workshop scheduled meetings or cancelations. We normally meet at the Broder Building across the walking bridge at The Museum of Natural History. We meet between 7:30-9pm each Tuesday. 
Tonight we had a few guests that were very welcome. I hope they had a great time and were interested in the doings of our little group. There are many informed members that have a lot of information that you may be interested in or answers to questions you may have in many phases of telescope making as well as Astro imaging and much more! 
Tonight for example of the goings on, we had one person polishing a 12.5" mirror, one person grinding an 8" mirror and a pitch lap being poured. Also, we had a person with parts of his mount and yet another showing his "Flaming Tomato", an 8" Dob. I just love it. What a great name for a scope! 
Over the course of an evening many things may take place. I love the offshoot conversations that happen all the time. But I will just end this by saying sometimes when we get together we just find ourselves visiting, taking a deep breath and letting the whole roaring thing go by, settling in for comfortable conversation that just drifts from topic to topic, till finally we must gather ourselves once more and return to the moment and bid ourselves well, until we meet again. 
And so.... till we meet again,
T

Monday, March 31, 2014

140330 From the Workshop #4...TimC

From the Workshop...#4
Tim Crawford
     In the last essay, I discussed the focal length and how it is up to you to choose which focal length is right for you.  I touched upon the relation between f/ratio, focal length and diameter of the scope’s objective. I realize most know the idea of focal length but I am using it as a springboard to less obvious conditions within the optical system.  One is that the shorter the focal length, the deeper the curve of the scope’s mirror.  This depth of the curve of your main objective mirror is called the sagitta.  This depth can be found by using a simplified equation:
s =(r*r)/2R.
     Here, r is the radius of the mirror and R is the mirror’s radius of curvature.  The radius of curvature is twice the focal length.  Imagine this:  you are holding a lit candle and standing in the center of a glass sphere whose inside surface is a mirror.  If wherever you look at the image of the reflection of the candle it is in focus, you are standing at the radius of curvature of the sphere.  Now, imagine that any part of this sphere is your mirror.  If you place a straight edge over the mirror, you can readily see the curve of your mirror's surface.  Already armed with your equation, you can determine the depth of this curve if you know its focal length.  Not only can you find this depth at the sphere's center but also at any of the points of the mirror's surface from the center to the edge of the mirror. These points are at different radii.  Therefore, it can be said there are an infinite number of "nested spheres" within your mirror's surface.  This will become important when we test our mirror. You will discover this in future essays of From the Workshop.
     In my next essay, I will clarify what takes place when you go to the eyepiece and see images in a typical reflecting telescope.

Wednesday, March 26, 2014

140326 JerryW cutting hole in 10"

140326  Jerry passed on these photos of the time that JoeD was 2" hole sawing through the 10" mirror that Jerry is making:

JerryW says:
We are using a steel tool to core a 2 inch diameter hole in the back of a 10 inch f/4 Pyrex mirror.  The mirror is at the #120 stage of grinding with the same size grit used for coring.  The cutting at this stage will stop about 3/16 of an inch from the front surface and will be completed from the front surface after polishing and figuring. The work was done using Joe D's drill press.

140325 SBAU Telescope Workshop


140325 SBAU Telescope Workshop

Sam of Westmont, TomW, JerryW, TimC, JoeD, MikeChibnik (also member VenturaCoAS; SB Raytheon EE), ChrisU, EdK, TomT

MikeC showed his wooden stand for grinding or polishing.


TomW pouring 6" pitch lap tool for EdK into silicone mold sitting on the 12.5" mirror with Sam of Westmont observing work.


 Tom showing curvature of pitch lap tool since it is pre-formed while on top of mirror in perfect pitch lap mold.


Sam will take a 10" mirror from TomW and work it to F/4 with porcelain tool.


ChrisU donating some wood circular blanks for grinding / polishing tools and a mirror holder for Sam 10" mirror.


JoeD announced SBAU Messier Marathon this Saturday, March 29, but weather will be a question.  Also, talking paracorr optics with TimC and MikeK.


Some other odd stuff mentioned this evening: 
-Schmidt was a SBAU President. 
-At one time the Telescope workshop had over 10 people at one time. Tonight's nine is a new recent high number.
-Warren Bitters used to bring daughters to telescope workshop.


JoeD holding TimC's 8" pre-scratch; MikeC, TomW, Sam
TimC ground another 30 minutes on the donated 8", but after cleaning up he noticed a scary scratch on the surface.
The Crawford Comet

Update from TimC:
On 3/26/2014 10:53 PM, Tim Crawford wrote:
The top photo is of the original scratch from Tuesday's session. The second (sorry for the lack of focus) has been filtered to enhance it a bit. You can see I made a lot of progress in ridding the surface of this gouge. I agree with Jerry- this is the result of a small piece of tile that exfoliated from the tool during  5 micron grinding. Too bad- I was almost finished. Great lesson in this though. Suggestions from you were most helpful! Here's how it went:
I decided to put in about 10-15 minutes with 5 micron. Results were dismal. The same happened with 12 micron. So, reluctantly I went back to 500 silicon carbide. Here I had modest results and I realized in time I would get rid of most of the defect but not fast enough for my liking. So, I switched to 320 aluminum oxide. Total time with all grits was around 1 1/2 hour. The enhanced photo shows there are still traces of the gouge, but in reality it is diminished through a loupe. The main defects now are 2 main big chips (?) that are evident in the photo. The plan is to now resume with 500 silicon carbide for up to 2 hours. Following will be the subsequent steps from 12-5 micron. Total time could be 6 more hours but I may push it. I apologize for holding up the project. I am still learning so much here. As I said, I much appreciate the comments and support in this project. I am just not sure in the end if I will rid the surface of the entire defect. The defects in my estimation are around the 70 zone, so it can effect the image. After 6 hours plus polishing it will be minimal I believe. The greatest lessons here are to take care of the environment we are working in. It has become apparent keeping a clean environment is crucial to success, and even then there are just freak events like chipping of tile that may happen. (As a result of this I took the tool down to the lab and used a wheel to bevel the outside perimeter of the tile tool. ) The second lesson is to remember that no matter what we can always backtrack and redo any disasters that may happen on the journey to first light. Patience and good humor will be two tools we must include in our toolboxes. Well, enough for now- I'll try to keep you informed of progress, but for now it appears to be just a matter of time......and time heals just about everything.
T

Monday, March 17, 2014

140316 TimC next meeting:

On 3/16/2014 12:12 PM, Tim C wrote:
> We are scheduling a workshop for this upcoming Tuesday, March 18th.  There may be a couple of things happening this Tuesday. We will have a tester available to see progress of existing mirrors. I think we are going to take a look at a 10" mirror to see its shape right now. This will dictate which direction to take looking forward. As we have somewhat of a knowledge of this mirror, I believe it may be suggested to first take it back to a sphere, then work on figuring the mirror to a paraboloid shape. For now we will get a great idea of the shape. Stroke shapes, duration of strokes to use to get back to a sphere will be suggested.With vast knowledge available to you from our experts, suggestions  may be made to guide the figuring to a parabola right from this state of the wavefront! It's really tricky to do this though. If you are not familiar with figuring, it may be best to go directly back to a sphere. Then, after becoming more familiar with the feel of the pitch over the mirror, you will feel more at home and figuring a little more understandable. For those of you that wish to know more about figuring, you may not want to miss this. Unfortunately, I will most likely not make the class this week due to a busy workload. If I can get there though, I will be grinding on our donated 8" one last hour before I go to polishing. It seems like our little workshop is doing magnificently well. Please feel free to join in if you want!
> T

Thursday, March 13, 2014

140312 re: Porter Garden telescope

On 3/13/2014 8:33 AM, Joe D wrote:
Hi All,
FYI I did contact the people making the Porter and every time I spoke with them it got more expensive.  Really expensive.  In the last conversation they wanted around $7000 for part of a focuser.
Eventually I made a maple base, which I do think came out pretty nice and in reasonable harmony with the original art deco bronze.  (FYI we did not have an original base to make a casting from.)  I also had to make a focuser assembly, with 20+ pieces this worked well but did not look art deco.  We had a chance to cake a copy of an original focuser (some other museum or club had an original and allowed us to borrow a mold)  but at that point we had been on the project over 2 years and we all wanted to wrap it up and the person who was going to spearhead the casting part of the project bailed.
FYI we did use it one night, it had a great image (considering that it has a Tim C mirror, there is no surprise here) but was quite awkward to aim and use.  It is way to heavy & bulky to move around often.  Really it was not a great scope under the start but as Indiana Jones would say, "It belongs in a museum!"
The Porter Scope restoration was an interesting project for me but I consider it DONE, especially considering that the museum is no longer displaying it to the public.  Still if anyone wants to pursue this, I will be happy to turn over all my notes.
Cheers,
Joe

On Mar 12, 2014, at 9:19 PM, Tim C wrote:
This is good news. Interesting. I know the cost of the replica Porter Scope was somewhere in the vicinity of 40,000. Joe D contacted these people once( I think it was Joe). He had a difficult time dealing with them to get"part" of the scope redone. It turned out I think to be much more than what was quoted to you for the base part, in fact, I'm sure of it. I hope we can discuss this further , especially with the powers that be. In the meantime Christopher, great work. You are an extremely interesting artist with seemingly a wealth of resources at your disposal. Please thank Nevin for his in depth reply to you. I do believe the Museum may be very interested in this development. In fact, I am CCing Javier R, who I hope you have had the pleasure of meeting already ( I think you have). We'll see how this all shakes out. I am just not sure how much interest this will have at this particular time from the Museum's position. They have a lot of irons in the fire. We may want to let the club officers know through Tom T of this. Again, thank you for this news regarding this wonderful piece in the Museum's possession.
T

On Mar 12, 2014, at 2:00 PM, christopher u wrote:
Hi Guys,
I wrote Nevin Littlehale to inquire about the cost for replacing the bronze base of the Porter Garden Scope. We had spoken about it a while back and I had forgotten to ask earlier. It seems much less expensive a prospect than I had though (approximately $700us see below). It really would be a beautiful addition to the museum.
I'm not sure how and to whom the information could be forwarded.
Best,
C.U.  

From: Christopher U
 Date: Mon, Mar 10, 2014 at 12:21 PM
Subject: Garden telescope base restoration estimate?
To: Nevin Littlehale
Hello Nevin,
It's Chris U from painting at SBCC. I was speaking with some people from an astronomy club Santa Barbara Astronomical Unit. They told me that the SBMNH has an incomplete 1920's Porter Garden Telescope. They just need to remake the base which is missing completely. It is a beautiful and important object so...
-They were wondering if possible and approximately how costly it would be to replicate the base. What do you think?
RESPONSE FROM NEVIN:
To make something like that I will have to make a model and then pull a mold off of it then cast it in Bronze. I could also design it in Autodesk inventor and print it then cast it. How soon do they need this? Can I come and look at the original and get some spec's on it? All told it shouldn't be more than $700.00.

http://www.novacon.com.br/odditycameras/portergradene.htm

Tuesday, March 11, 2014

140309 TimC mirror area Cosmos

On 3/9/2014 10:34 PM, Tim C wrote:
We are scheduling a workshop for this week, March 11th. Bill, please could you have the side gate open. Thank you much. I will not be attending this week, but Jerry Wilson will do the honors. Attend if you wish. There is a chance the outreach scheduled for this week may be cancelled and if that is the case we'll all be back on track. 
It was wonderful to see Christopher and his dad Frank at this month's star party. The "flaming tomato" is sprouting wings! If you have an 8" scope and you get a 10" scope, how much more " light grab" will you achieve with the 10 "? Let's ball park this- pi r^2 = area. There for r^2= 4^2= 16. That is the shorthand area of the 8" scope. The 10" is 5^2=25. That is the shortcut area of the 10" mirror. So, if I have it right it's like 64% s'more light grab with the 10" mirror vs. the 8". This becomes important as you progress through the art of mirror making. Everyone hears of aperture fever. In reality though, it is reasonable to think of the relationship of light grab vs. what you are willing to drag to a location to view the stars. In the end, it is perfectly true that the scope that is right is the one you will use the most. I will argue these are the reflectors between 6" and 14". Above those diameters one must use imaginative and intuitive ways to use the larger scopes.

But.... I digress.... It's just so much fun!! I just got finished watching "Cosmos" on one of about 5 different networks. Regardless if a mere President of the United States introduced it, I was really moved by the end of the episode when our friend Neil DeGrasse Tyson showed a book with Sagan's signature and invitation. Very Powerful!!!!! Tyson is a great emissary. I'm sure you wish him well, as I do!
T